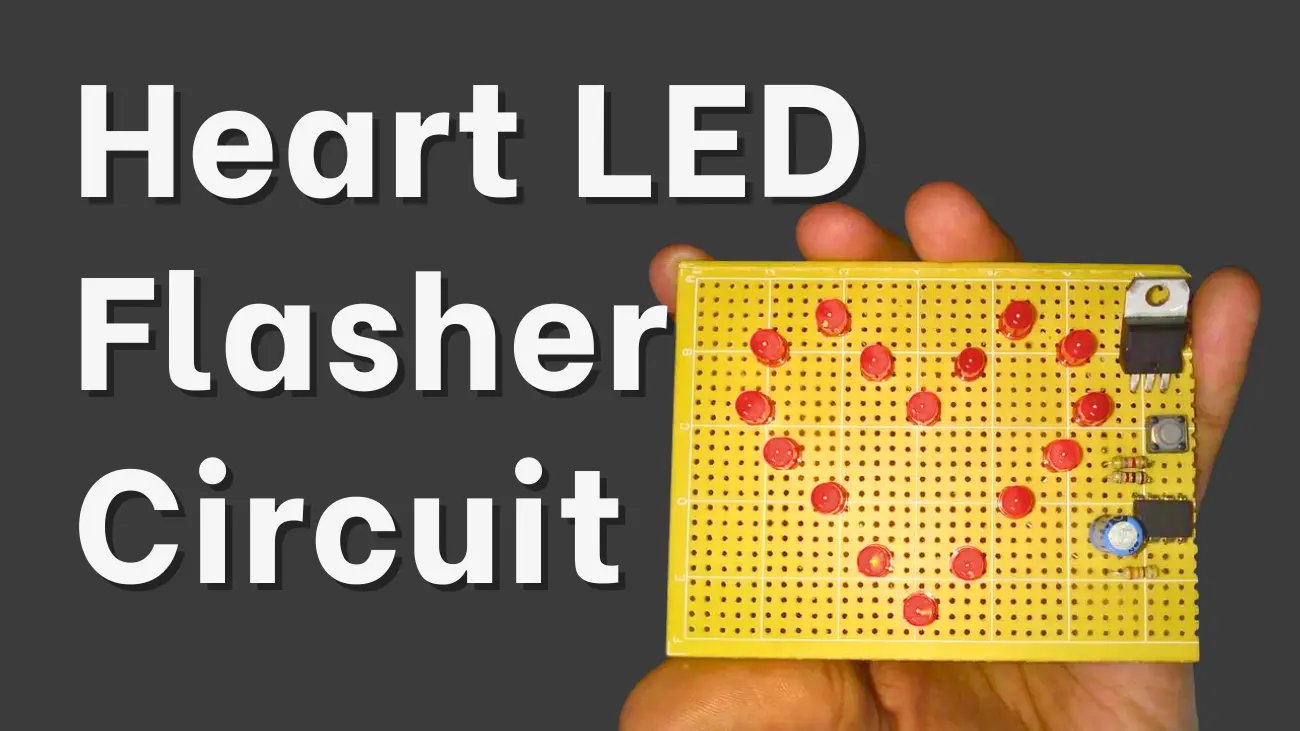
Make a Heart LED Flasher Circuit. Yes, I made it for someone special. It is a basic heart made of red LEDs. It has a flashing side too, made by using a 555 timer IC.
LED flasher circuits are always fascinating. But it has an eye-catching effect when it is available in customized shapes and sizes. We have started a series of flasher circuits in different colors, shapes, and patterns. Under our LED and light circuit categories, you may find numerous related circuits.
The NE555 timer IC and the CD4017 Johnson Decade counter are two versatile IC chips that will be used to make a heart-shaped serial LED flasher circuit in this DIY project guide. It is an exciting circuit that, when used as a decorating light, has a wonderful effect on your houses, parties, shops, and other places.
Heart LED Flasher Circuit Components
For an LED flasher circuit, the following components are required:
- LEDs
- Breadboard
- 555 Timer IC
- CD 4017 Counter
- 150, 1K, and 10K resistors
- 10K Variable Resistor
- 4.7uf, 100nF capacitor
- 9 Volt Battery
Circuit Diagram:

Read More: How to Make Control the Light Intensity of a LED Using PWM
LED Connections:

Note: All white lines are GND wires
You test your circuit now that you have all the components before putting it all together.
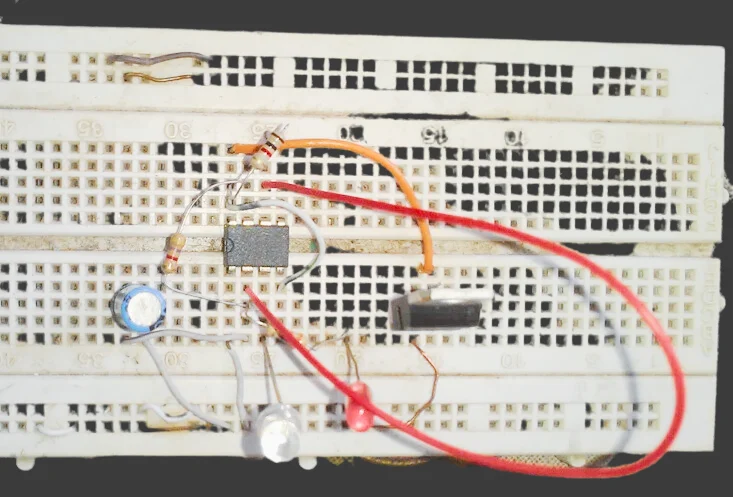
That saves both work and time, and I do it with every project. However, I've included a breadboard circuit.
The push button is inserted after the +ve voltage for turning on and off the heart.
When your loved one receives the gift, he or she will press the push button to turn the circuit on or off.
It is simple, and for testing, I used a breadboard. That is totally up to you. This step is optional.
Read More: Learn to Solder With These Simple Tips and Projects
Make a Heart
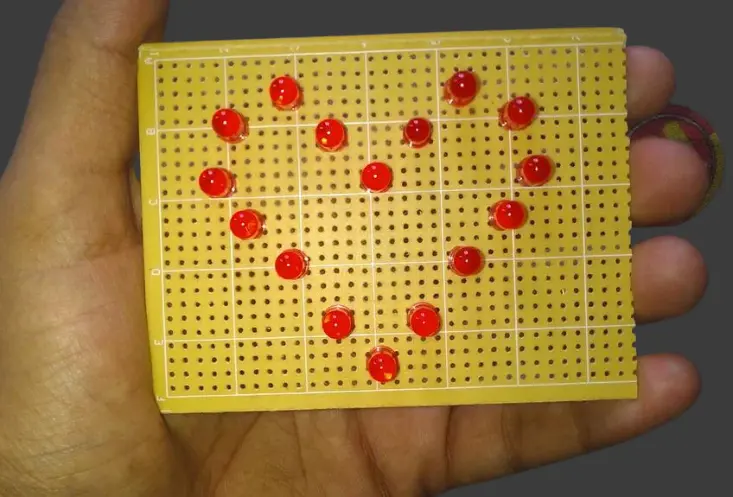
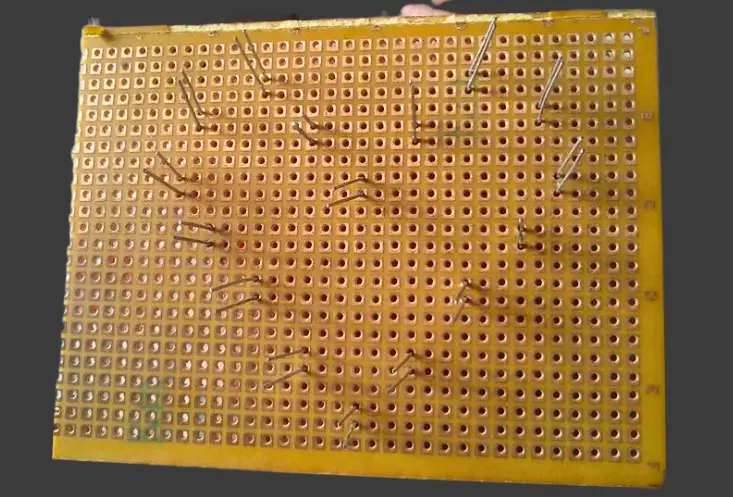
As you can see in the pictures, I have just added LEDs to make a perfect heart shape. I haven't started soldering or anything yet. It took me three tries to make a good-looking heart. You can't make a taller or fatter heart; it's up to you.
Note: I made it by counting the holes on the wyro board.
Solder the circuit carefully
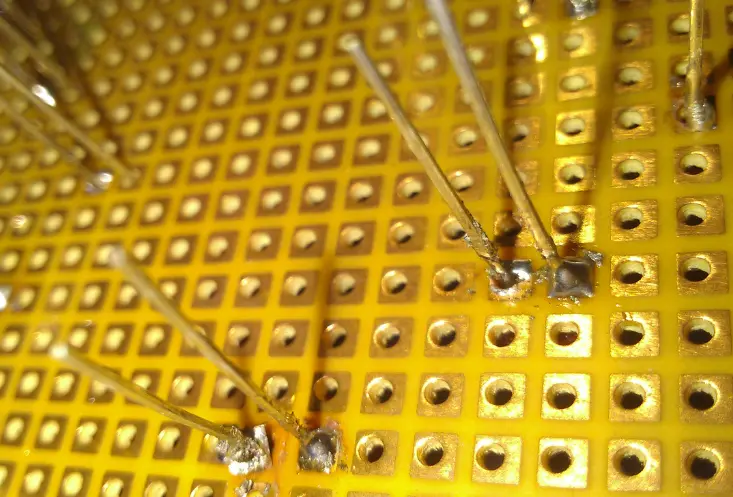
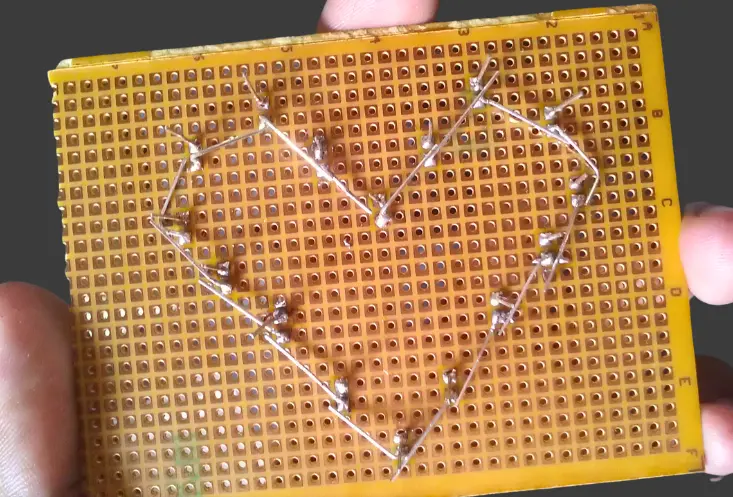
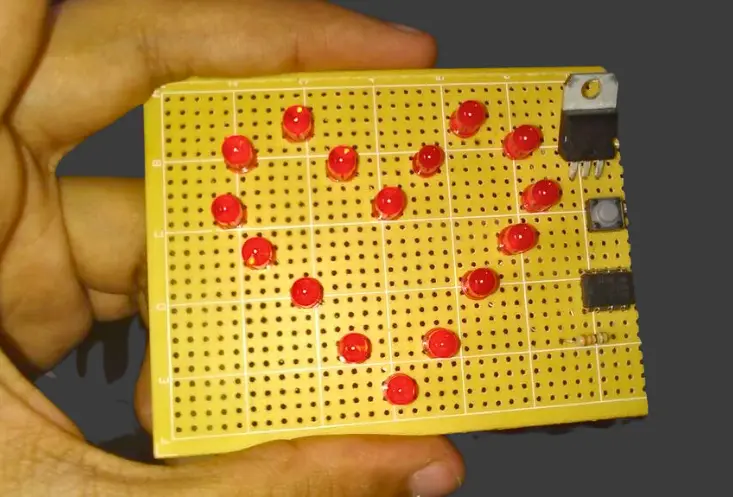
You can replicate the same circuit on the Wyro board now that you have tested it on the breadboard. So while soldering, be careful. Before using the hot tip of the soldering iron, double-check all connections.
Your circuit is now ready to be powered by a 9-volt battery. I haven't made a box to put it in yet, but if you do, your special someone won't like it very much.
Read More: The Top 10 ESP32 Projects for Smart Homes
After Pushing the Button, the Heart Does the Following
The LED heart has a flasher circuit linked to it, so it blinks quite quickly before slowing down. It keeps flashing and altering the speed of flashing continually. It will be loved by your friend. Good luck!
