The TM1812 is a 12-output RGB LED drive IC, which means a single TM1812 IC can drive 4 RGB LEDs. This IC consists of a data latch, signal reshaping, and high-voltage regulator circuits. It can be used for outdoor large-screen and color dot-matrix control applications. Since it can control four RGB LEDs, this IC is most suitable for designing pixel LED strips. Here is how to create your pixel LED using the TM1812 chip. Including diagrams, PCB files, and project files.
How TM1812 Chip Works

The chip uses a single-wire communication method called non-return-to-zero (NRZ) for communication. After the chip is powered on and reset, it receives data through the DIN pin from the pixel LED controller.
After receiving four sets of 24 bits of data (a total of 96 bits), the DOUT port will forward the next set of data to the next chip to provide input data for other TM1812 chips. Before forwarding, the DOUT pin was kept in a pull-down state. If the input signal at DIN is the reset signal, the chip will not receive new data and will set the FET's gate voltages for each output channel according to the received data. The chip will receive new data after the signal ends until the next reset signal.


After receiving the first 4 sets of 24-bit data, the chip will communicate. Data is forwarded through the DOUT port. The chip adopts automatic shaping and forwarding technology, which can completely avoid signal attenuation and distortion when transmitting more points over long distances, making the number of chips in the network not limited by signal transmission but only limited by the speed of the data transmission.
Features of TM1812 Chip
- CMOS Technology
- Input voltage support up to 24 volts (with the help of an external resistor)
- Brightness adjustment circuit (256 levels of brightness)
- Single-wire communication (NRZ)
- Built-in signal reshaping circuit
- Built-in RC oscillation and clock synchronization circuit
- Built-in power-on reset circuit
- The PWM control terminal can achieve 256-level adjustment.
- Data transmission speed up to 800 kbps
- Package form: SOP16, DIP16
TM1812 Circuit Diagram
TM1812 Circuit Diagram 5V

In this circuit, the TM1812 IC is powered by a 5-volt supply. With three common anode RGB LEDs connected to the output pins of the TM1812 IC, you can also use RGB LEDs without common pins. The 104 (0.1 uf) non-polarised capacitor works as a bypass capacitor to ground any AC components in the power rail. Two resistors (R2, R3) are connected at the data input and output pins to match the impedance (optional). You can use a resistor between 100 ohms and 200 ohms.
TM1812 Circuit Diagram High voltage

In this circuit diagram, the supply voltage is greater than 5 volts (6 volts–24 volts). Since the three RGB LEDs are connected to voltages over 5 volts,current-limiting resistors (R1, R4, R5, R6, R7, R8, R9, R10, R11, R12, R13, and R14) in series with the RGB LED pins are used. The value of these resistors can be calculated using the equation.
Rled = VRled / Iled
Rled In this case, the resistor value is ILED, which is the current flowing through the LED. VRled In this case, the voltage drop between resistor pins is [Vs + Vled] (Vled means the voltage drop between the LED's anode and cathode). These values can be measured using a multimeter or by referring to the datasheets of the RGB LEDs. As you can see in the diagram, you can use multiple LEDs in series with the TM1812 pixel LED IC.
To protect the IC from higher supply voltages, a resistor (R2) in series with the VDD pin is being used. The value of that resistor can be calculated using the below equation.


R1 = VR1 / I
Where “VR1” is [Vs (supply voltage) – 5 v] and “I” equals 1 mA. e.g., if the supply voltage is 6 volts, the R2 value should be 1 kohm; if the supply voltage is 9 volts, the R2 value should be 4 kohm. Here is a list of resistor values for different supply voltage levels:
| Supply Voltage (VS) | (R1) Resistor Value |
|---|---|
| 6V | 330 |
| 9V | 1.2K |
| 12V | 2.4K |
| 24V | 6.8K |
The 104 (0.1 uf) non-polarised capacitor works as a bypass capacitor to ground any AC components on the power rail. Two resistors (R2, R3) are connected at the data input and output pins to match the impedance (optional). You can use a resistor between 100 ohms and 200 ohms.


TM1812 Pixel LED PCB

- Q1: TM1809 IC (SOP16)
- R2, R3: 0.1 W (8050)
- C1: 0.1uf (Ceramic Non-polarized Capacitor 1206)
This is a 21mm x 16mm (WxH) PCB designed only using SMD components. IC package is SOP16. The resisters (R2, R3) are 0.1-watt 8050 packages. SMD pads are being used for the input, output, and RGB LED connections. “COM” pads are where the common pin of the RGB LED should be soldered. Use the Gerber files if you want the PCB to be manufactured by a PCB manufacturer like JLPCB.
[Download the Proteus Project and Gerber Files]
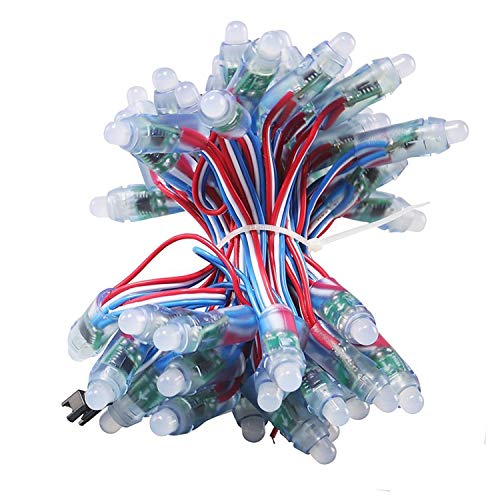
5050 RGB LED with TM1812 Chip

This PCB is designed to be used as a pixel LED strip by soldering one unit to the other in series. D1; D2; D3; and D4 are RGB 5050 package LEDs. The resisters (R2, R3) are 0.1-watt 8050 packages. C1 is a 0.1 uF ceramic non-polarised capacitor in a 1206 package.


The above image shows the PCB layout of the 5050 RGB chip used in this pixel LED PCB. When you are purchasing an RGB LED for this PCB, please ask for the datasheet of the RGB LED from the vendor and refer to its PCB layout. There is no need to match the order of the three color LEDs because you can always change the order of the RGB channel signals from the software. In LEDEdit software, you can change the color channel sequence in the new project window. If the polarity of the 5050 LED you purchased is opposite from this one, turn the LED 180 degrees and solder it.
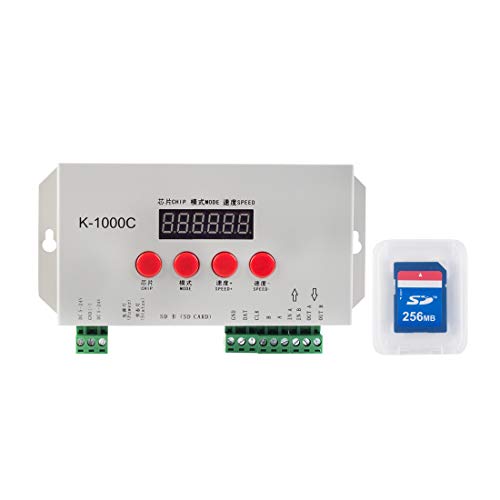
How to Use TM1812 PCB

As you can see in the diagram, each TM1812 pixel LED unit is soldered with three RGB LEDs. The pixel LED controller connects to the first pixel LED unit, and the data terminal of the controller connects to the data input of the first pixel LED unit. The 5 volts and ground of the controller connect to the +5 volts and GND of the first pixel LED unit, respectively.
The DOUT of the first pixel LED unit connects to the DIN of the next pixel LED unit. The 5 volts and GND of the first pixel LED unit connect to the +5 volts and GND of the next pixel LED unit, respectively. Likely, each pixel LED unit connects in series. The number of units is only limited by the pixel LED controller's capabilities.