Making things may be incredibly fulfilling, even though many of us have never touched a soldering iron. To help you get started, here are the 10 most basic DIY electronics skills.
Making things may seem incredibly fulfilling, even though many of us have never touched a soldering iron. While tackling electronics tasks, you need to have a few essential skills. The right skills may make the difference between rage and ecstasy, whether you want to repair damaged equipment or assemble Arduinos (see our Arduino tutorial). These are 10 of the most basic DIY electronics skills to help you get started:
Breadboarding
Without soldering, a breadboard allows you to build a circuit. Why? If any component is flawed or if you don't understand the diagram, you shouldn't assemble it using solder. It may also educate novice electronics students about the circuit routes of the many components that go into numerous gadgets.
Using the channels on the left and right sides of the board, a breadboard allows the input of a DC. Via these channels, the current runs vertically. The current may flow horizontally thanks to the rows on the inside of the breadboard. The back of a breadboard is shown below; keep in mind that each piece of metal acts as a wire:

The video below, by Ian Buckley, is one of my favorites among the YouTube tutorials I reviewed that covered basic breadboarding:
http://www.youtube.com/watch?v=mE33WpRWrXs
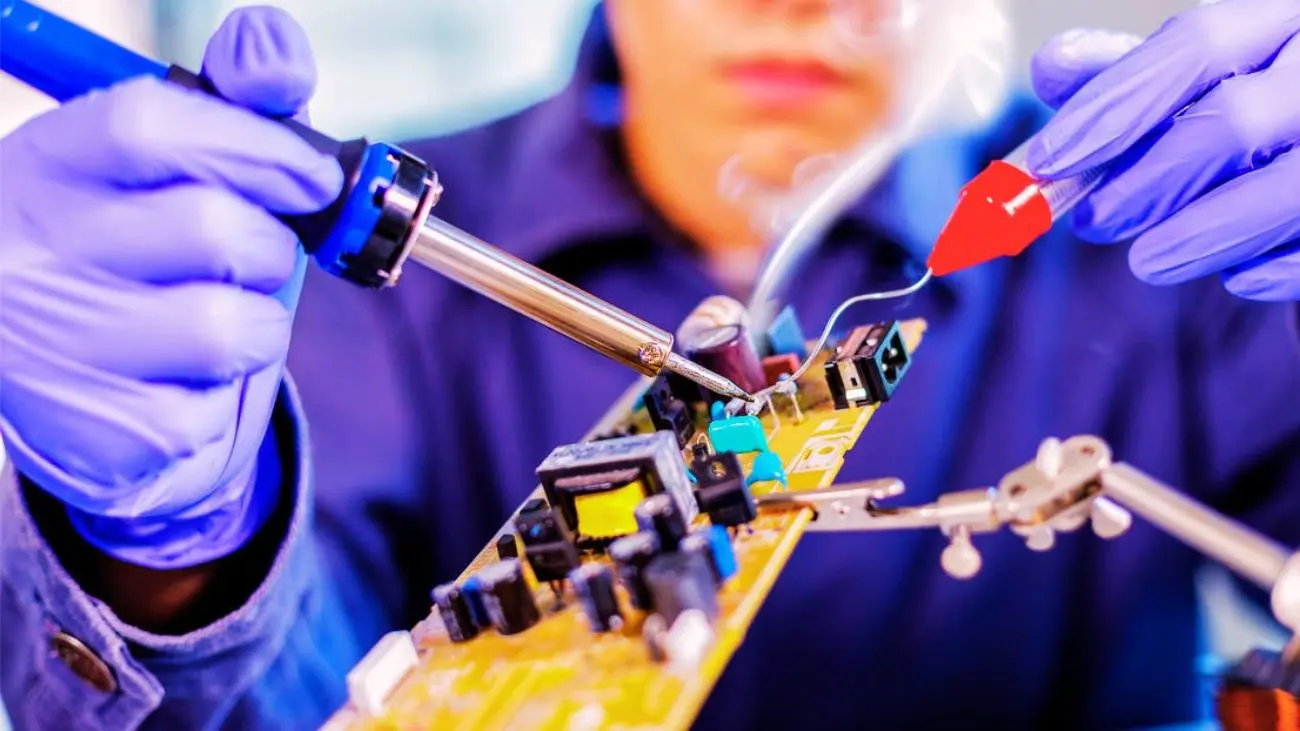
Soldering
I recommend this soldering iron, which may range in price from pricey to inexpensive. On a breadboard, you may prototype circuits, but to do much more, you'll need basic soldering skills.
I don't recommend flicking solder in one of the tutorial's techniques. Liquid metal is released when the solder is flicked, which might be harmful. To remove solder, I recommend that customers use a soldering iron and brush the hot soldering pad over it. For basic operations, it's not a huge concern that there will still be contaminants on the tip of the soldering iron.
Here is a video showing how to clean the tip of your soldering iron using a metal “Brillo” pad (it's not actually a Brillo pad):
http://www.youtube.com/watch?v=1y1xQ0Xefac
Using a Multimeter
Several jobs may be performed using multimeters. Measurements of current, resistance, and voltage are the most frequent applications. These are also reasonably priced: A cheap one costs around $8, while the more expensive ones may cost up to $20. Professional models cost thousands of dollars.
Note that multimeters may be damaged or destroyed by the electronics you are working on. If you have never used a multimeter before, watch at least one tutorial. There are a lot of videos on YouTube. I selected one that is separated into four sections and is rather extensive. Simply and sensibly, it discusses safety and diagnostics.
http://www.youtube.com/watch?v=ZBbgiBU96mM&list=PL4A0248AE2B0DF1A3
Read More: How To Make a Cloud Lamp with Sound reacting Lightning
Testing Batteries
In addition to troubleshooting circuit boards, multimeters may perform a wide range of practical tasks. You may also test batteries, for example:
http://www.youtube.com/watch?v=W38x9RJs29I
Drilling Holes in Project Boxes
You'll need to drill holes in project boxes at some point. A project box offers convenience, simplicity of assembly, and the ability to hold circuit boards while keeping all of your wires in one place.
I won't go into great detail here; just remember that there are numerous methods for drilling holes in the plastic. I recommend using a variable speed rotary drill (colloquially referred to as a “Dremel”, which is a brand name). Dremels offer several different bits for different tasks. Other methods also work, but with more effort and less accuracy.
http://www.youtube.com/watch?v=uao-sinxbBs
Using Hot Glue Guns
Hot-glue guns don't cost much. On Amazon, I saw one for under $6 that comes with several glue sticks. To secure the different parts in place, you may use any kind of non-conductive adhesive (insulator), although hot glue guns offer a nice balance of convenience, low cost, and simplicity of usage.
Plastic, not actual glue, is used in hot glue guns. A short circuit cannot be created by plastic because it functions as an insulator. It is the perfect adhesive for working with electronics because of this characteristic. There is no possibility of inducing a short.
http://www.youtube.com/watch?v=ig4plBi7eqY
Using Liquid Electrical Tape
Shorts may be created by exposed wires and solder points. In certain circumstances, electrical tape or heat-shrink enclosures will not fit. Liquid electrical tape fixes both problems. Although it costs more than regular electrical tape, it provides the convenience of use and several additional features, such as water-proofing, soldering, and enhancing the durability of soldered joints.
http://www.youtube.com/watch?v=3HTa3QGc4FQ
Electronics Safety
While working with electronics, there are several risks to keep in mind. Electrostatic discharge may ruin sensitive electronics, capacitors can kill you (never disassemble a power supply like James Bruce did, naughty James! ), and you should always turn off your electronics before working on them.
http://www.youtube.com/watch?v=hF4171y2VQ0
Here's a clip on electrostatic discharge:
http://www.youtube.com/watch?v=RtlYi1yLTVQ
Cleaning a Circuit Board or Solder Joint
If you only want to clean a printed circuit board (PCB), here's a great way to clean away the organic residue from soldering:
http://www.youtube.com/watch?v=cwN7oUt2kig
Wire Stripping
For use with a wire stripper, I prefer thicker, unbraided wires. The lesser ones (adjustable strippers) that are included with technician kits tend to cut right through braided wires, thus I don't recommend using them. The best wire strippers are automatic (or hot wire strippers), although they tend to cost quite a bit. Gauge wire strippers offer the best balance between cost and performance.
This is a tutorial that covers multiple wire-stripping strategies:
http://www.youtube.com/watch?v=yDyjVwuy1Ug
Using a Solder Sucker
Solder suckers can easily pull melted solder from a mainboard. There are different types of solder solution suckers available, but the pump-style sucker is the most cost-effective kind. The solder-sucker is shown in the following video:
http://www.youtube.com/watch?v=Aw4lZGk90i4
Do You Have Any Electronics Tips?
With these skills, you're ready to tackle some introductory electronics projects and get started making stuff! Are there any DIY Electronics Skills you would want to add to the list?


